I have been asked to demonstrate how I make my Classic Roses.
They are really pretty simple. I start with the Classic Rose Die from Heartfelt Creations, the Deluxe Flower Shaping Paper, the Golf Tools and some Ink. You can get all of these items on the Heartfelt Creations web page. I like to use hot glue but I have made many of them with the Designer Dries Clear Glue too! I prefer this Deluxe Flower Shaping Paper because it is very heavy and stands up to all the shaping it takes without falling apart. It also keeps a nice sturdy flower shape indefinitely.
I die cut out four of the same size petal shapes. (The one pictured here is the next to the largest size.) I use ink to "shuck" the edges with a sponge dauber and color the inside with a soft makeup brush.
I use the Golf Tool Shaping set from HC exclusively for shaping these roses. I poke a hole in the center of each of the four flower petal groups, with the Golf Tool.

At this point you can use a small stamen but I always have leftover stems from stamens so I just wrap the end of the wire tightly around the golf tool and this will keep it in place.
Now we start shaping the petals. I shape all four of the petal clusters exactly the same way. I wrap the petal around the golf tool very tightly and curl it. This helps break down the fibers of the paper and gives you a very tight rose bud. You will need strong fingers and just pinch it around the tool very tight!

This is what you should have at this point! You will use two of these to make the center bud. The other two will get additional shaping in a minute!
Thread the first bud cluster onto the wire and secure on top and bottom with a drop of hot glue.

Then you will quickly add hot glue to each petal and then form it in to a very tight bud. I pretty much just pinch it as tight as I can! I don't want too much (or any) of the inside of the bud showing and definitely want to cover up the wire!
 This is the first bud layer.

This is a photo of adding the second layer to the bud.
You don't have to pinch the second layer as tightly if you don't want to. Sometimes I let the second layer be just a little looser. Use the hot glue the same way you did with the first layer. Now you have a wonderful rose bud. You can stop here and use this for a bud. I usually use about 5 rose buds on a card. If I was using this as a stand alone bud I would probably cut and color one more petal layer, stamping it in leaf green, shade it with a green color and cut it out and wrap it around the bud (sometimes!) You can experiment by wrapping the bud in small leaves or just tucking it under leaves or roses on your card or project.
Now we will begin shaping the outer two layers for a full size rose. You will take the golf tool and tightly bend the petals around the tool toward the outside. I usually do this pretty tightly because they do loosen up over time and with a lot of handling. I also spritz them with water when I'm done so it doesn't hurt to make the curls really tight at this point! Do this same shaping to both of the remaining petal clusters.

This is what your shaped clusters should look like.

At this point you will thread the bud onto the third layer and secure with a drop of glue (usually right under the bud and on the bottom. Then use hot glue bring the petals up and adhere to the bud. I find it a good idea to really make the bottom of the rose very round and I kind of pinch the petals to curve around the bud. Strong fingers again! Don't be afraid of it. It takes a firm grip to get that layer nice and round circling that sweet bud!
The fourth layer is really the only one that is super important to stagger the petals to meet the row above it! Really give it a round shape.
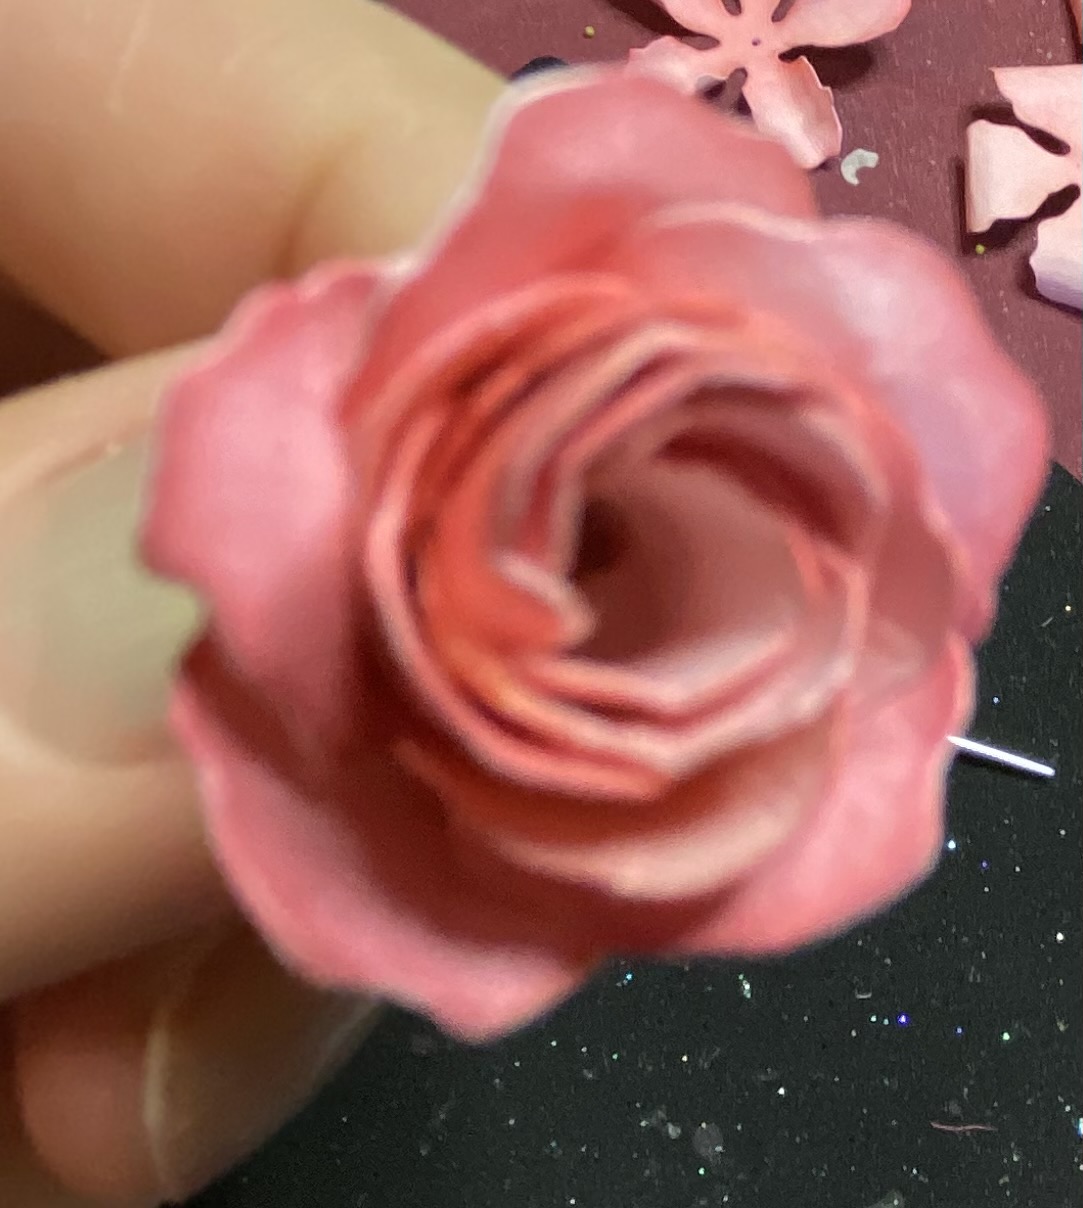
There you have a full size rose! You can make a full size rose any size!!! Small, medium or large depending on the size of the petals. At this point I spritz with water or use some glitter or finish them however I want.
I hope you will practice these techniques and over time you will achieve some lovely smooth petal full size roses for use on a variety of projects.
Some extra tips to make your card or project look even more realistic:
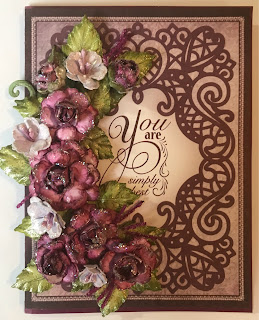
I like to use odd numbers of the same size rose! I also like to turn the roses so that some or most of them are angled off to one side. I don't really want anyone to have to look right down the inside of a giant rose!
For a beautiful coloring technique I like to use Stampin Up Ink and make the edges of the petals dark. Then when you spritz it with a tiny amount of water the edges bleed into the center of the rose. It is a beautiful effect, I hope you try it!
Heartfelt Creations has a lovely video on the Leafy Accents and that is the leaves I love to use with my roses. I make a giant batch of them at a time.
Here are a couple examples of the darker edges that I then spritzed with water. Sometimes on the very large rose I will use 5 total layers, or I will use a smaller bud for the center! You just have to work with them and when you make it you will know when you achieve the look you want.
I think you will be very happy with the coloring technique! I hope you will have fun and try to make some of these Classic Roses. It is definitely challenging but once you find your groove you can make roses for so many projects and occasions and they are very impressive to the recipients!!!
Happy Mindful Crafting!
I experimented today with the Classic Rose die and used plain coffee filters instead of shaping paper. I have taken a few picture of the steps but they are exactly the same as the paper rose instructions above. I would just like to tell you how I colored them. Using coffee papers you have to use a different technique as they are very delicate and would not withstand the "shucking" or coloring by other methods. I took about a 1/4 cup of water added about 6 or 7 drops of Pink Pirouette Ink drops. This is a water based ink from StampinUp. Any pink color will do as long as it is water based. I just mixed the ink and water and dipped (completely submerged) the petals in the ink water. I spread them out on a piece of cardboard to dry.
After a few minutes I decided to take the remaining ink water and put it in a little spray bottle and spritz them again. They look really light in the picture but when they dry they become very nicely pink colored.
After drying I shape them, again just using the above techniques and I did add another layer to the large rose, making a total of 5 layers, just because they are very delicate.
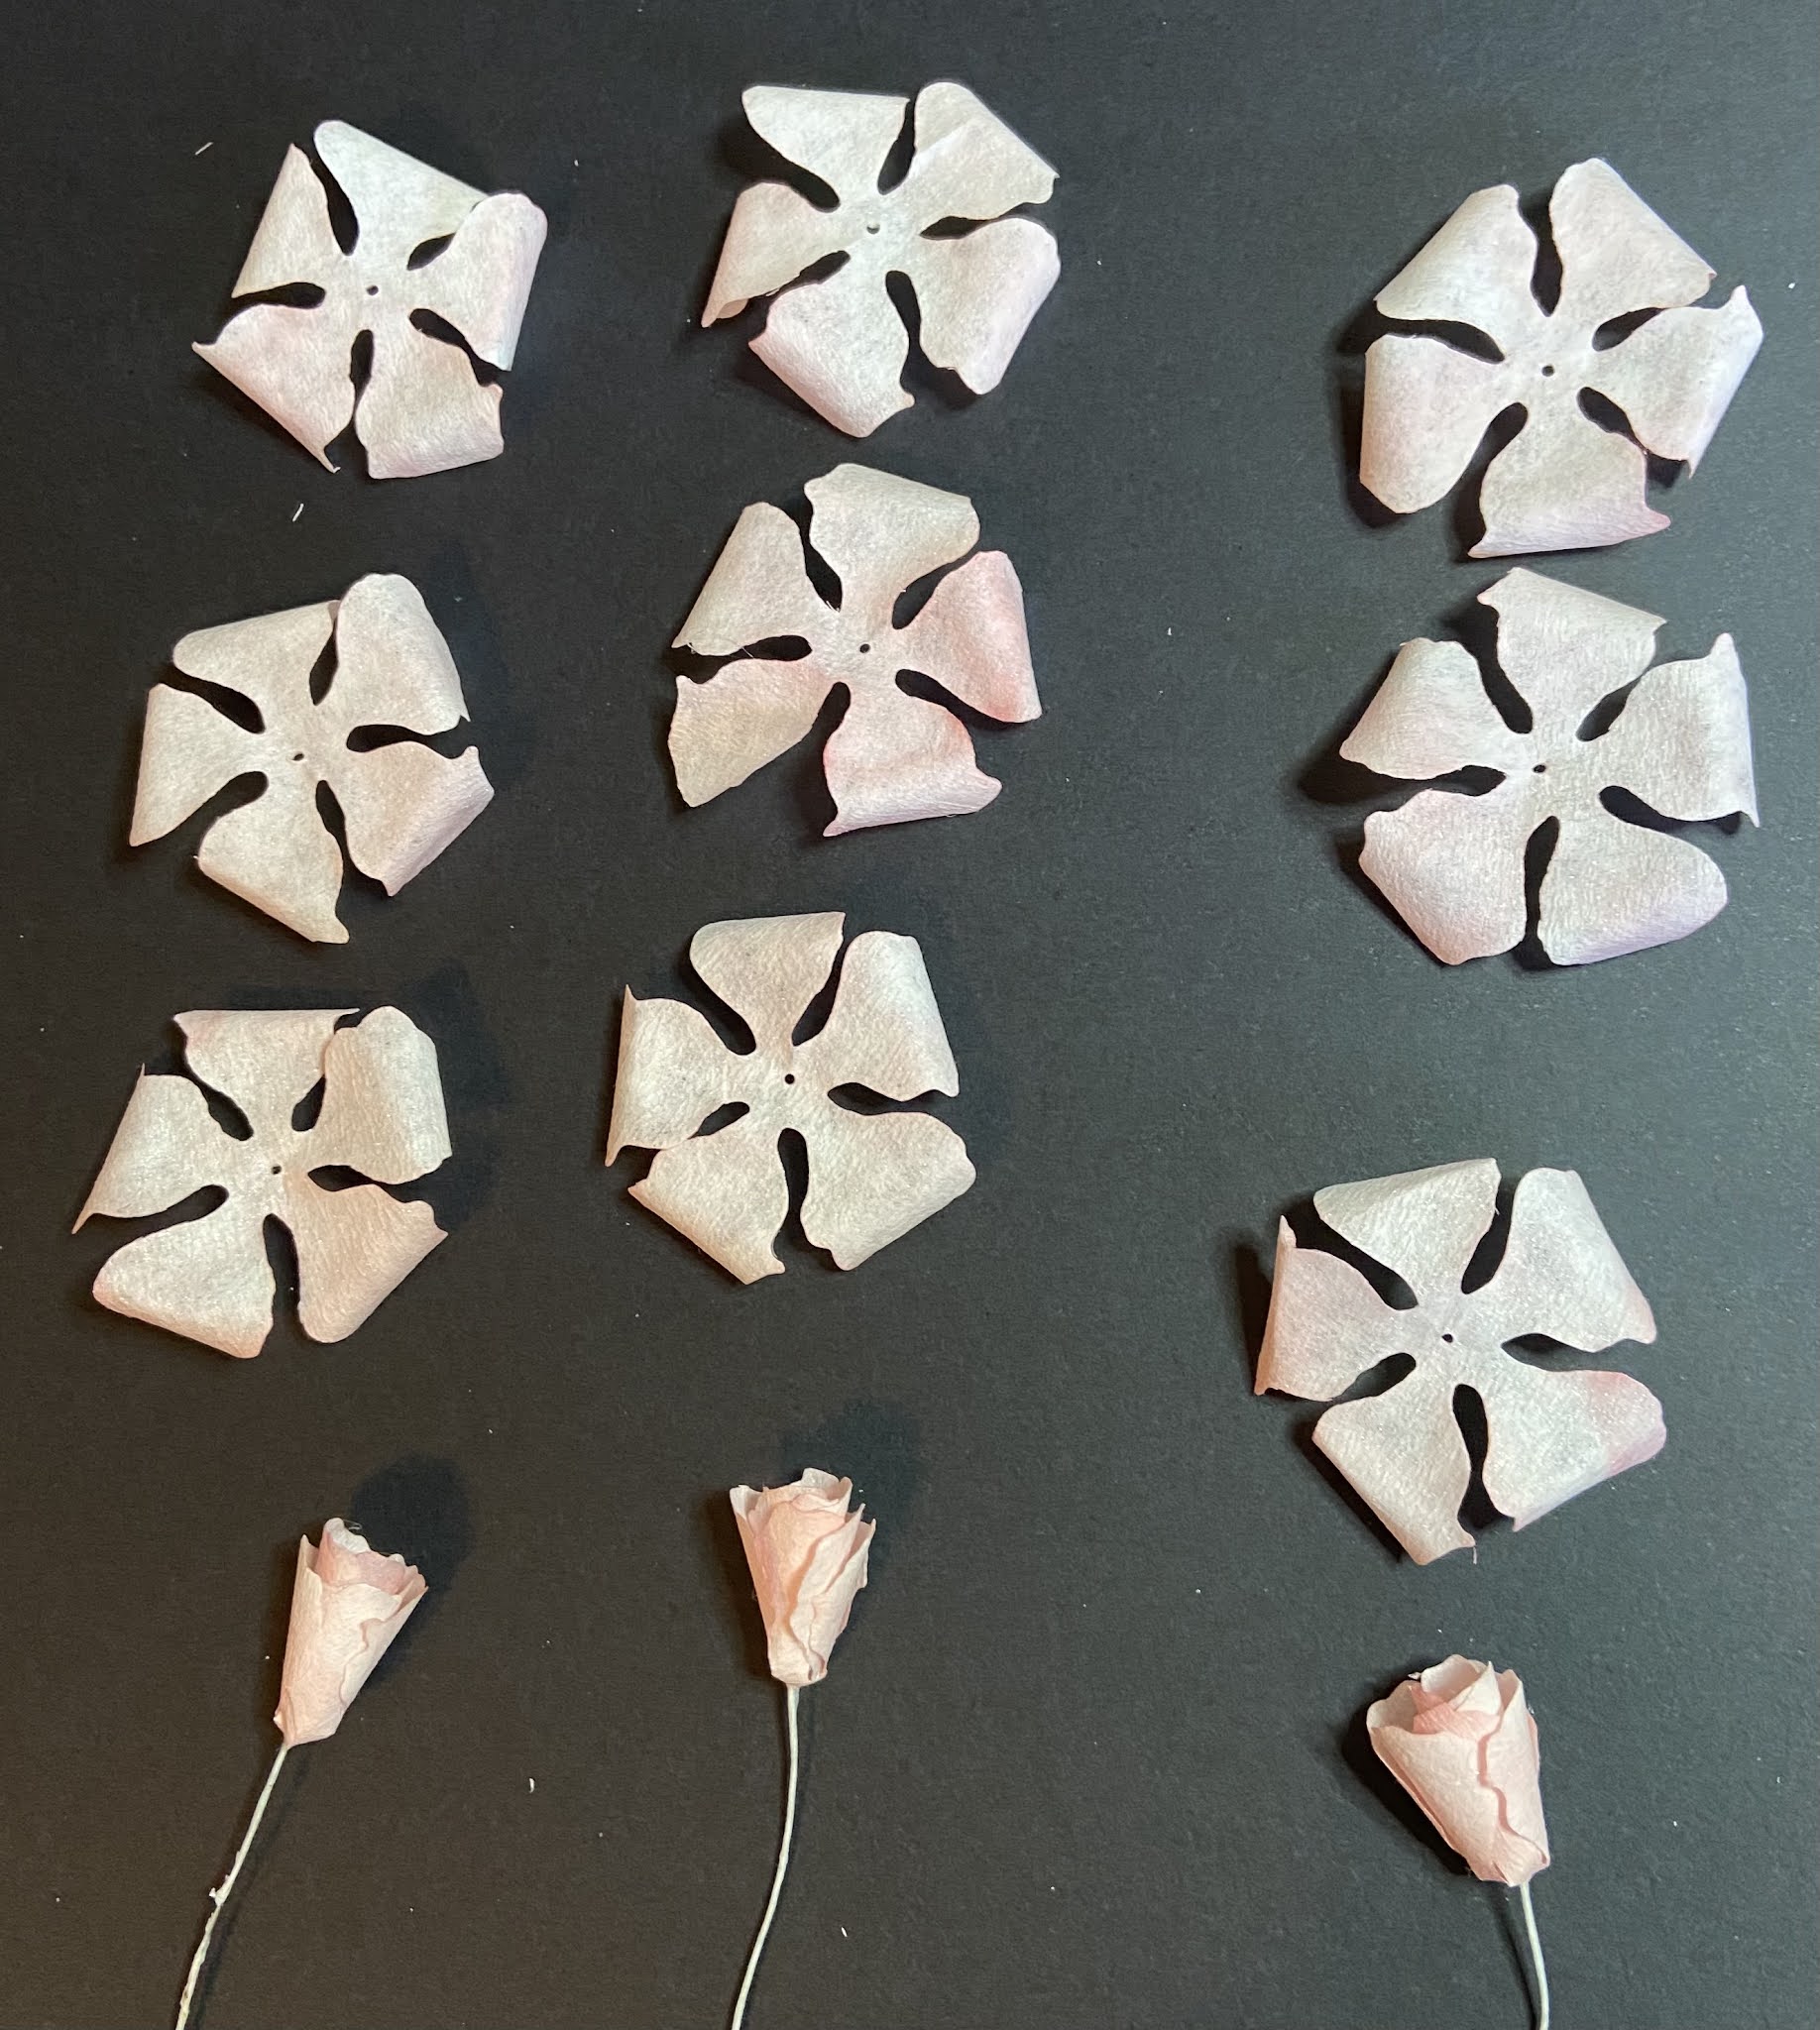
This is the photo of the petals needed for three large roses. 3 large and 2 medium size petal shapes.
Here they are after shaping them. All are shaped the same way at this point. Poke a hole in the center.
For the large petals I shaped them additionally by turning the petals down, using the golf tool
This is what your petals should look like. Remember this is for 3 large roses.
This picture is after I have started with the medium size petal and glued it to the wire.
This is after adding the second medium size petal
This is a photo after adding one of the large petal layers.
This photo is after I have added all three large petal layers.
I hope this helps explain the technique of making roses with coffee filters and the coloring techniques I have used.
Please feel free to contact me if you have any questions. I am always available to talk about roses!


 This is the first bud layer.
  This is a photo of adding the second layer to the bud.


These are so beautiful Cynthia! Thanks for all the tips!
ReplyDeleteThank you my friend!!!
DeleteStunning! Classic rose is my favorite, can’t wait to try out your technique. Thanks so much for sharing!
ReplyDeleteThank you so much for sharing. I have learned some new things and am excited to start crafting again. Your work is beautiful!
ReplyDeleteThanks for sharing how you have made these STUNNING ! roses. I have a quick question though how do you put the glitter one the roses please and what glitter do you use.
ReplyDeleteYes, thank you so much for sharing. I love your techniques and can't wait to try them later today.
ReplyDeleteAwesome instructions. Thank you for sharing😀
ReplyDeleteThey are so beautiful. I want to try them tonight.
ReplyDeleteCynthia, thank you so much for sharing your technique. Can’t wait to try this out!
ReplyDeleteI just found your link to the tutorial! Thank you very much! Great explanation for coloring the coffee filter petals!
ReplyDeleteThe BEST tutorial on shaping roses that I've seen! Thank you.
ReplyDeleteThank you so much, that was a fantastic tutorial!
ReplyDelete